We are seeing it more and more and more (I had to add a third “more” because we are seeing it so much): the economy has been hard on everyone in the last few years, so, rather than purchasing land and building brand new homes, people are choosing to remodel homes that are already there. Some decide to remodel the house they’ve lived in for 20 years, and some are making the move to a different house that needs work. Whichever category you fall into, there are a few VERY important things to ask yourself before you begin your remodel. These are things that will not only help you decide what direction to go and begin to craft a plan, but will also help save you untold trouble down the road. Isn’t that great? So, without further ado, here are 5 things to consider before remodeling:
1. Why am I remodeling?
This seems like a logical thing to ask yourself, so you may be surprised that you haven’t figured it out yet. Take a little while to think about it- you can even write it down to look back at along the way. Why are you choosing to remodel?
Did you just buy a new “fixer-upper” that is going to require lots of work to make it live-able?
Are you living in a home with outdated style, floorplan, appliances, finishes, furniture, etc?
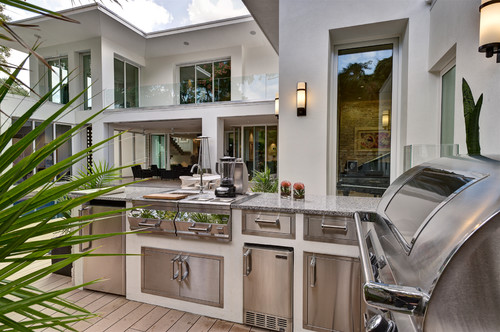
Have you decided that putting in the time to change the home you live in now is a better option than moving?
Are you trying to add value to your home?
Have you decided that buying an existing home and remodeling is a better option than starting a new construction?
Once you have an answer to this question, you will be able to move forward in a more confident way, because you will be able to easily access your reasoning for remodeling in the first place, and keeping this answer handy will help you to answer other questions that are sure to come up during this process.
2. Am I creating something that I can live with for the next 20+ years?
You may already have a picture in your head (or on your Pinterest boards) of exactly how you want your crisp new-to-you home to look when you first open that door. It may or may not be trendy, but if you are remodeling for updating reasons, chances are that there are fad fashions somewhere in that vision. Chevron? Grays and greiges? Stainless steel and granite?
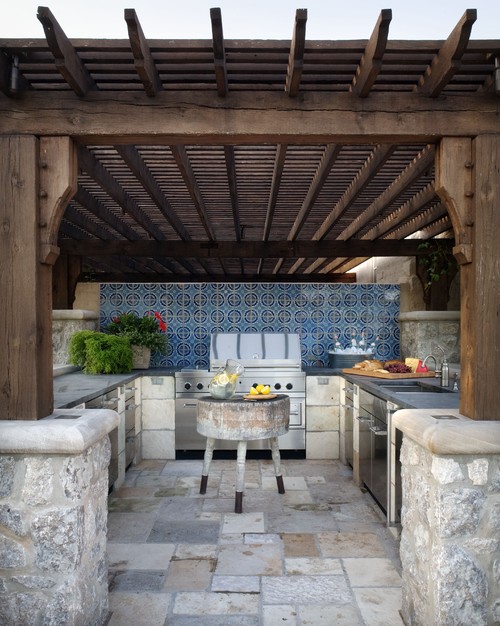
Image via ChicTip
While these things seem incredibly chic right now, try to remember how chic shag carpeting, floral wallpaper and brass fixtures were in their day.

Image via Flickr
Wouldn’t it be a shame to put months of work into creating the most trendy house on the block, only to realize in 2015 that your house is no longer cool and you now have to wait until you have the time and money to remodel yet again? Rather than focusing on what is hot at the moment, try to really think about your OWN style, what will work for your family, and what will be comfortable and timeless for years to come.

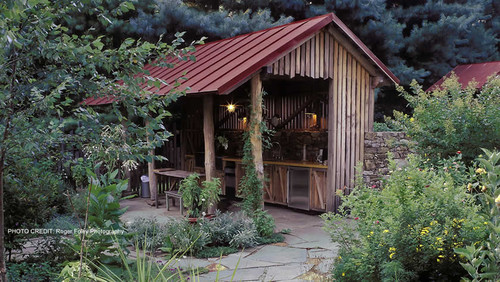
Image via Home on the Range
Also think about the possibility of selling your house down the road, and what a prospective buyer might think of your updates.
3. Am I able to do this myself?
What is the scope of what you are trying to accomplish? It’s CRAZY how fast a few “DIY projects” can turn into chaos and get you in over your head. While it’s fantastic to picture yourself re-tiling, staining cabinets, and color coordinating fabrics and furniture, the cold hard truth is that (unless you are some sort of home improvement prodigy) you will not likely accomplish all or any of your goals if you leave it completely up to yourself.

Image via Besotted Cottage
You have other things to do, and we all know that home projects tend to fall by the wayside. If you are reading this paragraph and thinking “hmmmmm that might be me,” it’s time to seriously consider outside help. Strange as it may sound, interior designers are accessible to everyone.

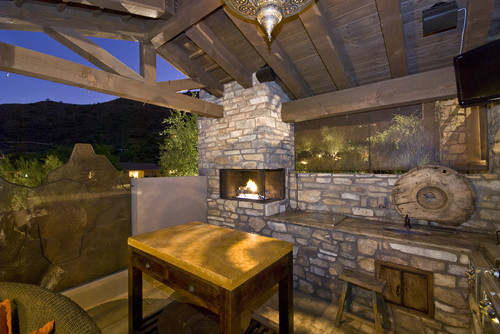
Image via Home on the Range
We can coordinate subcontractors, help you choose fabrics, colors, styles and finishes from an insanely overwhelming selection, and get to know you so well that we can personally handcraft your dream home for you. And we can probably do it for less than you think. Maybe not a lot less, but we have yet to have a single client who didn’t think the end product of our services was worth the money. Better to pay more up front for someone who knows what they’re doing than to pay down the road because it wasn’t done right the first time!
4. What does my budget allow?
This question really follows from the previous question, and this is where, at the very minimum, a consultation with a professional is key. While you might be imagining a full scale overhaul of your home, there is a possibility that it would be in your best interests to scale it back a little bit. You might need to focus on a few important rooms, like kitchens and bathrooms.

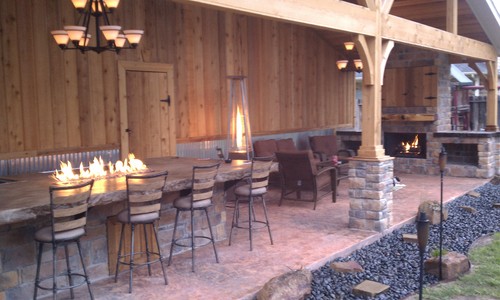
Image via Home on the Range
You might need to focus only on updating furniture or finishes, because sometimes changing one thing can provide a whole new environment where the other things you thought needed to be changed immediately just don’t seem like such a big deal anymore.
Or, you actually really might need an overhaul, in which case you will need help laying out exactly how to do it. The reason you need to ask yourself about your budget is this: planning is key in remodeling. The last thing in the world you want to do is dive head first into 10 projects, then run out of money and live in a disaster area until you can continue towards your goal.
5. Where should I start?
Here’s the simple answer: start by asking yourself all four of the previous questions. Identify exactly what it is that you hope to get out of this endeavor, then identify the best way to get there. Remember that we are here to help! While I can’t speak for other designers, I know that at Home on the Range, all but one of our current projects are remodel focused, so we definitely know how to get the job done! If you are interested in learning more, you can contact us through our website, or stop in to the showroom! Good luck on your adventure!
For more remodeling inspiration, follow us on Pinterest! You can also like us on Facebook to get daily inspiration sent straight to your wall.
- August 28, 2013
- No Comments